
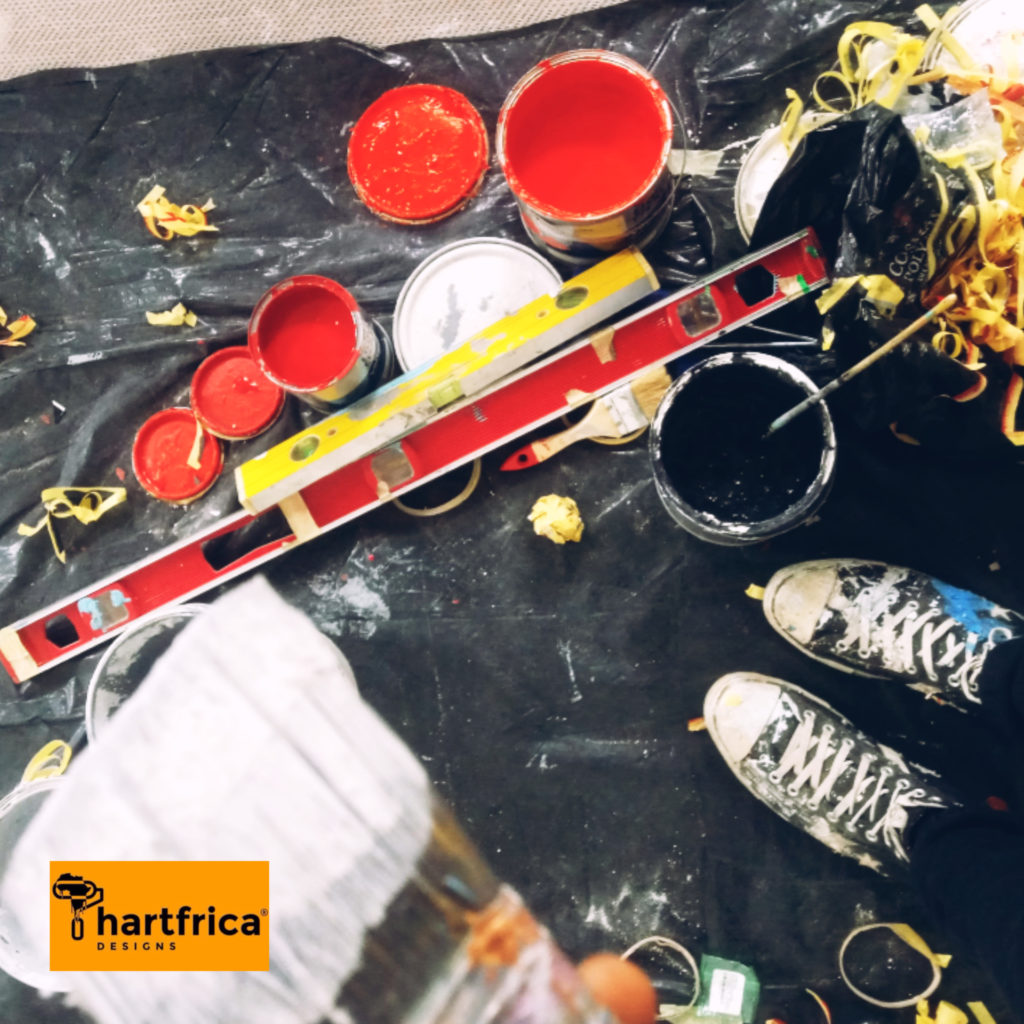
Ensure your hands are clean to avoid having too many stains on the walls as these stains might be difficult to erase. Even if you use paint to cover the stains up, the wall might not look smooth as it should have looked if the cause of the stains were avoided.
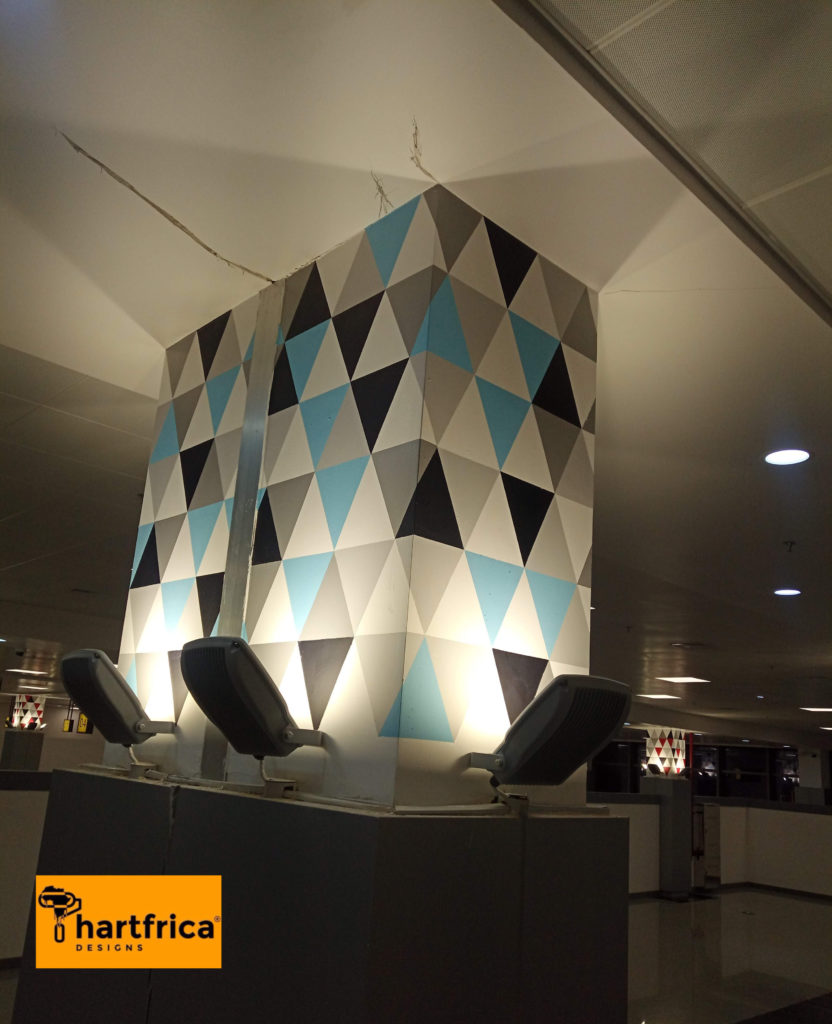
Use a spirit level to ensure a straight line and also to measure. The spirit level can be caliberated with a pencil to the desired height and width of the shape to be repeated. Once the desired shapes are neatly marked out on the wall, the shapes can then be taped off and painted.
Frequently encountered problems:
The wall might be peeling off while taking off the masking tapes, the edges might be bleeding, brush marks or roller marks might be visible, etc.
Some solutions
Use half inch masking tapes.
Apply a white powder with a cloth to the edges of the masking tapes, to avoid bleeding instead of pressing the masking tape too hard.
Masking tape should not be placed on a wet paint, to avoid leaving marks and edges of masking tapes should be painted with very light strokes.
5 thoughts on “DIY on Tessellation (Wall Patterns)”
Thank you for this very helpful.
We are glad it was helpful Blessing.
Major thanks for the article post. Much thanks again. Want more. Hettie Jonah Gerri
Hey there. I discovered your blog by means of Google even as looking for a similar topic, your website came up. It looks great. I have bookmarked it in my google bookmarks to visit then. Jessy Mano Bronson
A fascinating discussion is worth comment. I do think that you ought to publish more about this issue, it may not be a taboo subject but typically people do not talk about such issues. To the next! Cheers!! Jacquette Lorin Kelby